
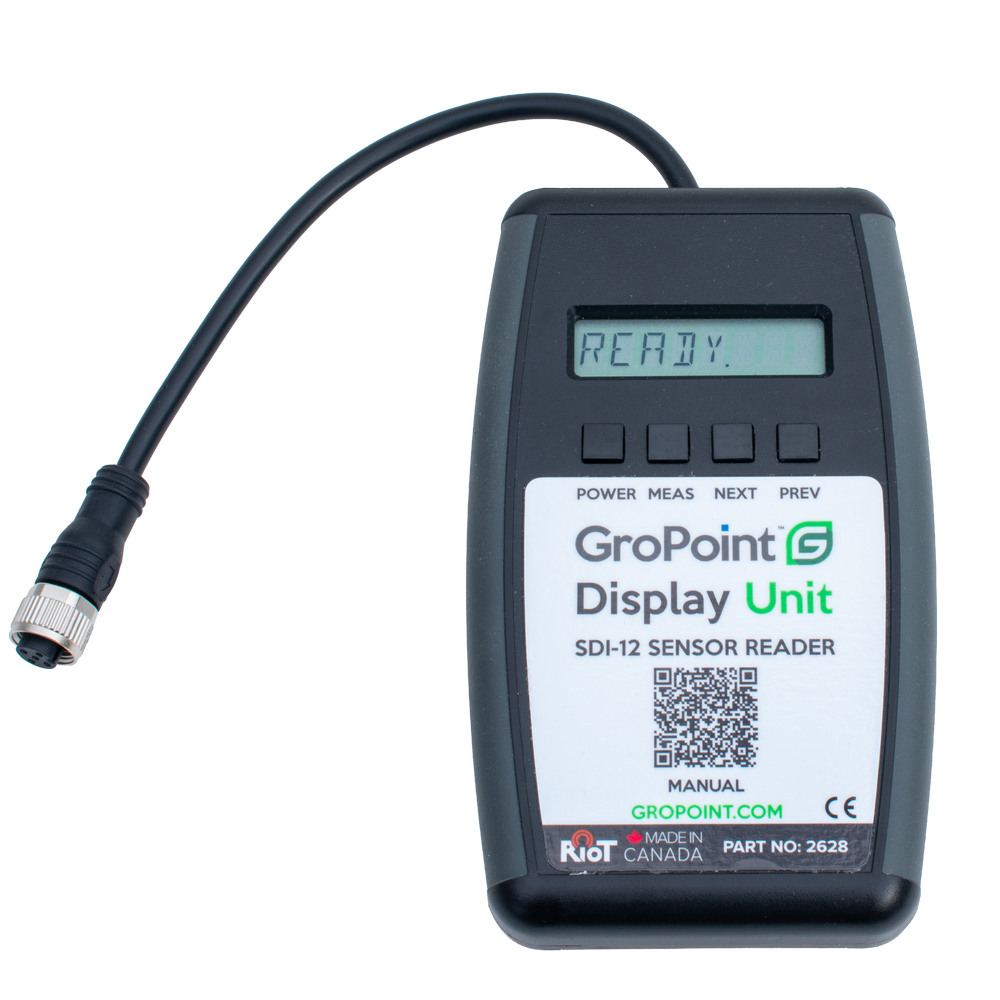
GroPoint™ Display Unit, SDI-12 Sensor Reader
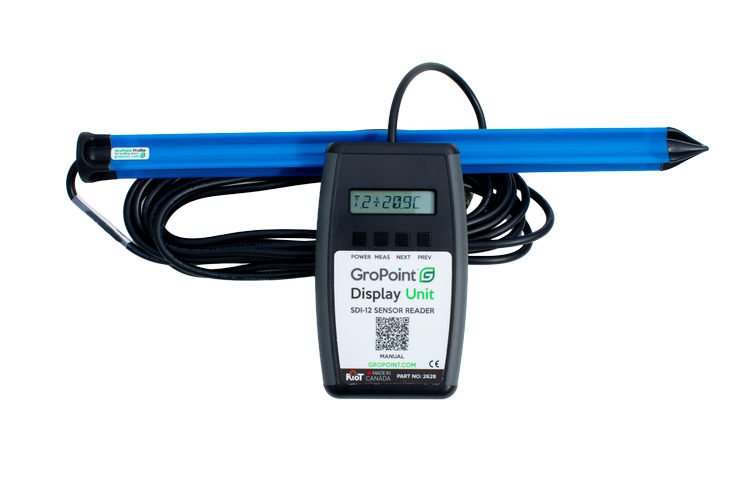
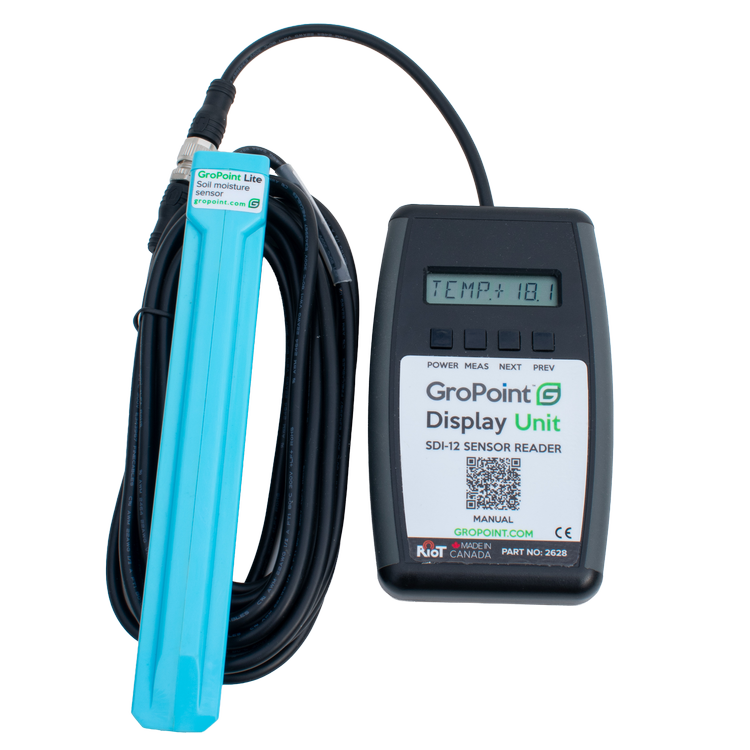
The GroPoint™ SDI-12 Display Unit provides a simple, portable way to view real-time readings from GroPoint soil probes and most SDI-12 compliant sensors directly in the field. Designed for fast diagnostics and spot measurements, the GP-DU instantly displays current sensor readings without requiring software, loggers, or wireless connectivity.
Key Features
- Provides instant real-time measurements from GroPoint™ and compatible SDI-12 sensors directly in the field.
- Compatible with SDI-12 sensors operating from a nominal 9V power supply.
- Large 8-digit alphanumeric LCD display for easy field readability.
- Push-button operation allows users to cycle through SDI-12 measurement commands and instantly display readings.
- Compact and rugged weather-resistant handheld design ideal for troubleshooting and quick sensor verification in the field.
- Supports continuous measurement mode for live reading updates directly on the display.
- Powered by a standard 9V alkaline battery with low-battery warning indication.
- Includes M12 5-pin connector compatibility and support for alligator clip adapters for third-party sensors.
- Operating temperature range from 0°C to 65°C (32°F to 150°F).
- Lightweight portable design for quick deployment and easy transport between monitoring locations.
- Specifications
- FAQs
- Downloads
| Display | 8-digit alphanumeric LCD |
| Operating temperature range | 0°C to 65°C (32°F to 150°F) |
| Maximum temperature | -20°C to 70°C (-4°F to 160°F) |
| Power requirement | 9.0V alkaline battery |
| Dimensions | 12.1 cm x 7 cm x 2.5 cm (4.75” x 2.75” x 1”) |
| Weight | 181 g (0.4 lb) |
| Part number | 2628 |
What type of sensors are compatible with the SDI-12 Display Unit?
Any sensors that follow the SDI-12 protocol and can operate from a nominal 9V battery supply are compatible with the Display Unit.
What precision of measurements can be displayed?
The SDI-12 Display Unit has four-digit display precision.
What do the readings displayed on my SDI-12 GroPoint Display Unit represent?
If you have one of the GroPoint sensors connected to the GPDU, the following table breaks down how each measurement will be represented. All moisture measurements have units in % volumetric moisture content, and all temperature measurements are in Celsius.

For third-party sensors, the command structure is as follows:
M! commands: Reading displayed as VL.n ± d.ddd, where n is the measurement number and d.ddd is the value.
Mx! commands: Reading displayed as Mx.n ± d.ddd, where x is the SDI-12 measure command (M1! to M9!).
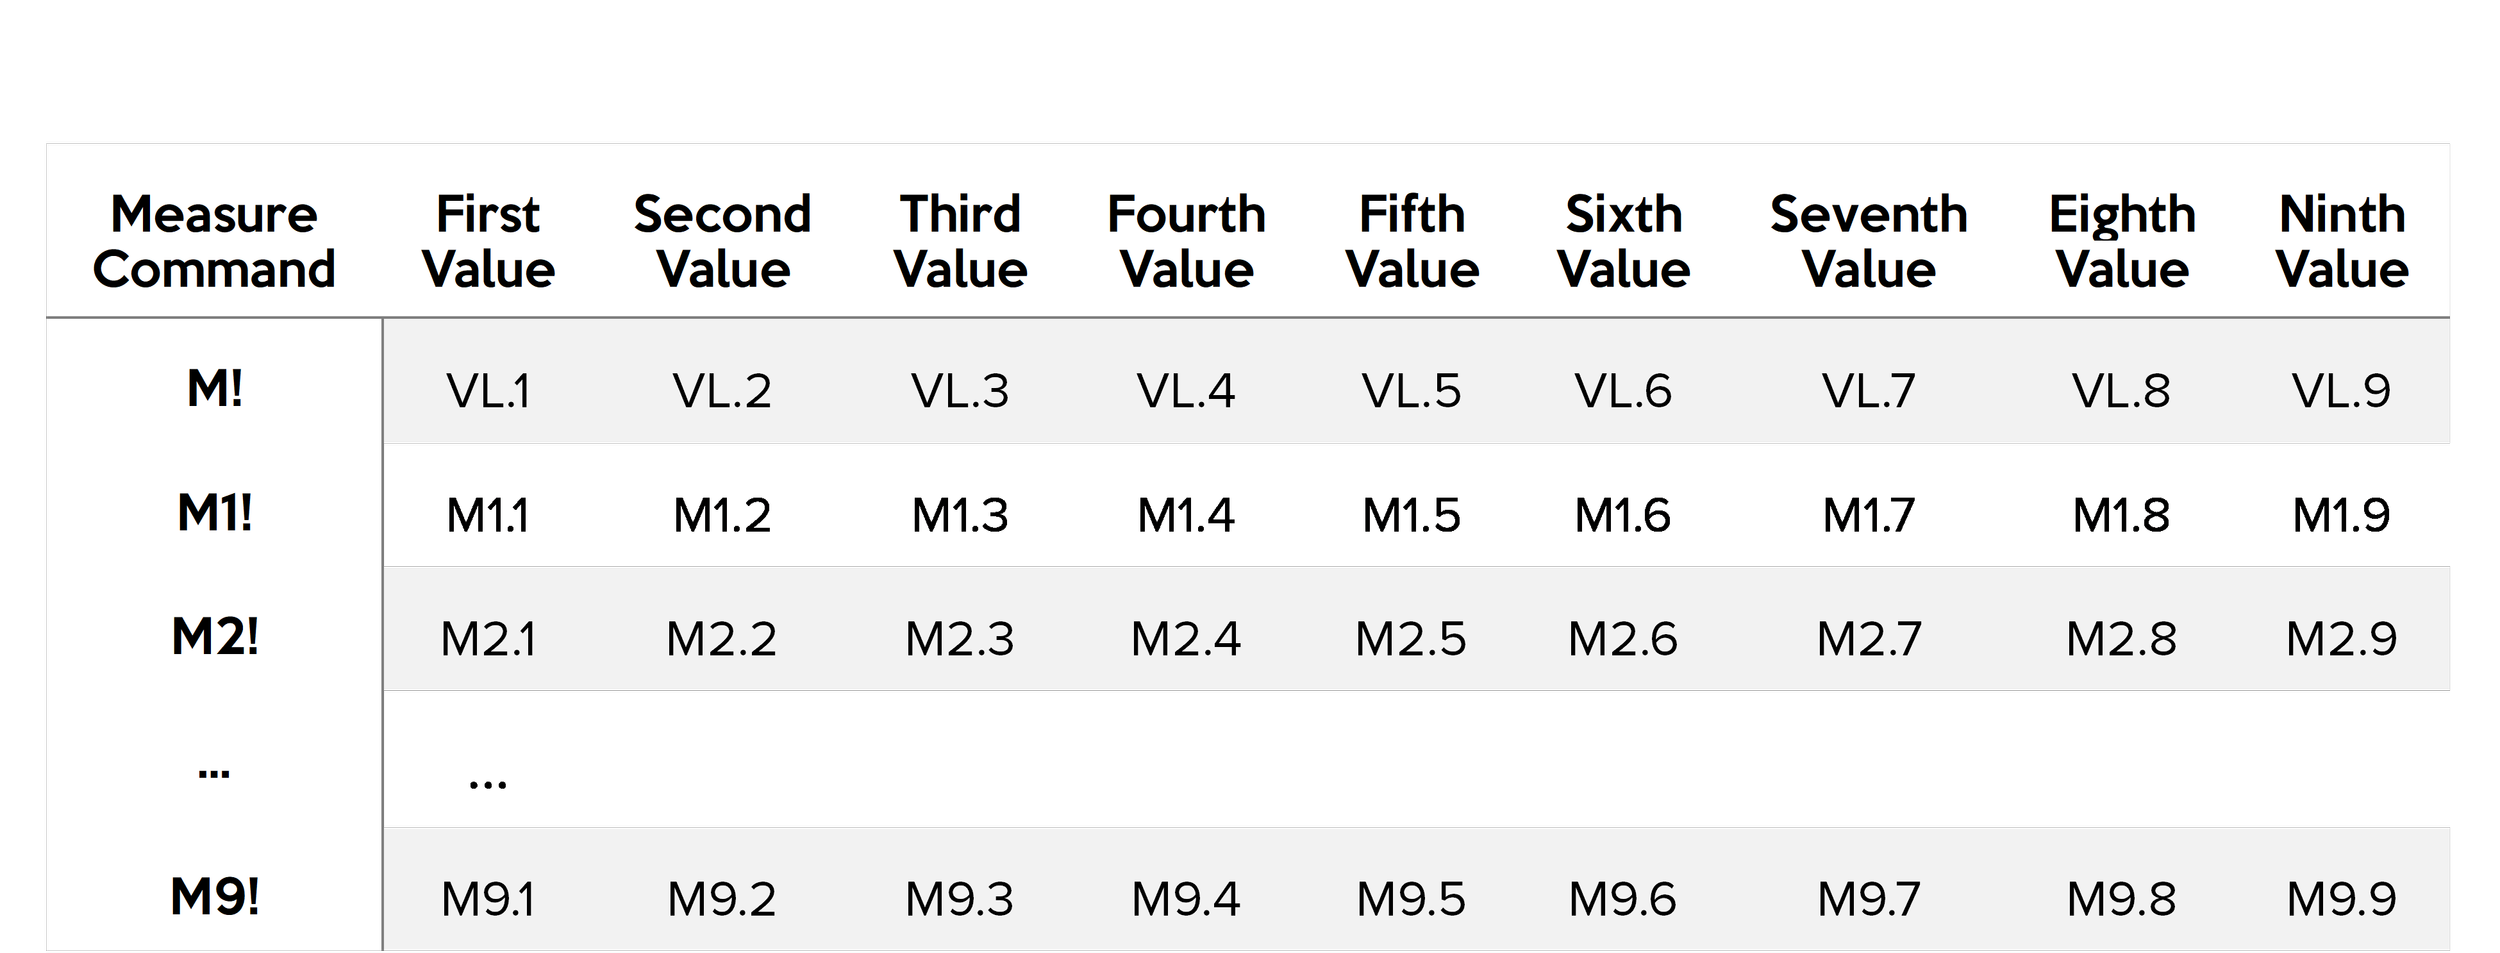
Not all SDI-12 sensors support all nine measurement commands. Most sensors return fewer values per command. Refer to your sensor’s manual for full details.
How do I connect the SDI-12 Display Unit to a sensor?
The Display Unit comes equipped with a M12 5-pin code A female connector. To connect a sensor, you will need either:
- A mating male connector on the sensor, or
- The Alligator Clip to M12 Male Adapter for sensors with flying leads.
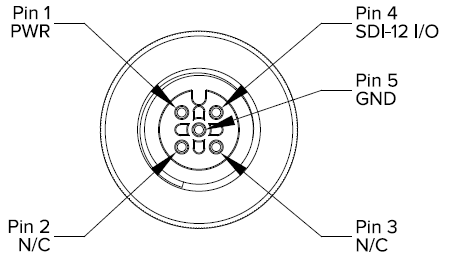
What is the connector pinout for the GPDU?
The SDI-12 Display Unit uses a M12 5-pin code A female connector with the following pinout:
What type of battery does the Display Unit take?
The Display Unit comes with a 9V alkaline battery installed. Remove the contact cover before use. If you need to replace the battery, use only a 9V alkaline battery.
How do I know if the batteries need to be changed?
If the battery voltage drops too low, the message “Low Battery” will be displayed when the Display Unit is powered on.
What should I do if the Display Unit shows an error message?
If you get an error message, check the following:
- Verify the sensor connection and wiring.
- If using a third-party sensor, confirm it can be powered from a nominal 9V battery supply.
- Check the Display Unit battery voltage with a multimeter, it must be above 7.2 V. Replace the battery if it is lower.
Downloads
Datasheets
GP-DU Quickstart ManualGP-DU Datasheet
GroPoint Product Catalog
Documentation
GP-DU ManualSubmit a General Inquiry
Videos
GroPoint Tutorials: Display Unit Setup
Step-by-Step Guide: Set Up the Data Logger and Connect a Sensor